Recently, a mom was really stressed out saying,
“My kid just loves stuffed toys.
Every time we pass by the mall, they want to stop and buy one.
It’s just too expensive!”
She wanted to know if there were any DIY tutorials for making plush toys at home.
The answer is, of course, yes!
Today, I’m going to introduce the simplest way to make plush toys.
You can make them as hanging decorations, or as ornaments, and so on.
They’re perfect for playing with yourself or giving to little friends.
I guarantee you’ll learn, so come and check out the tutorial!
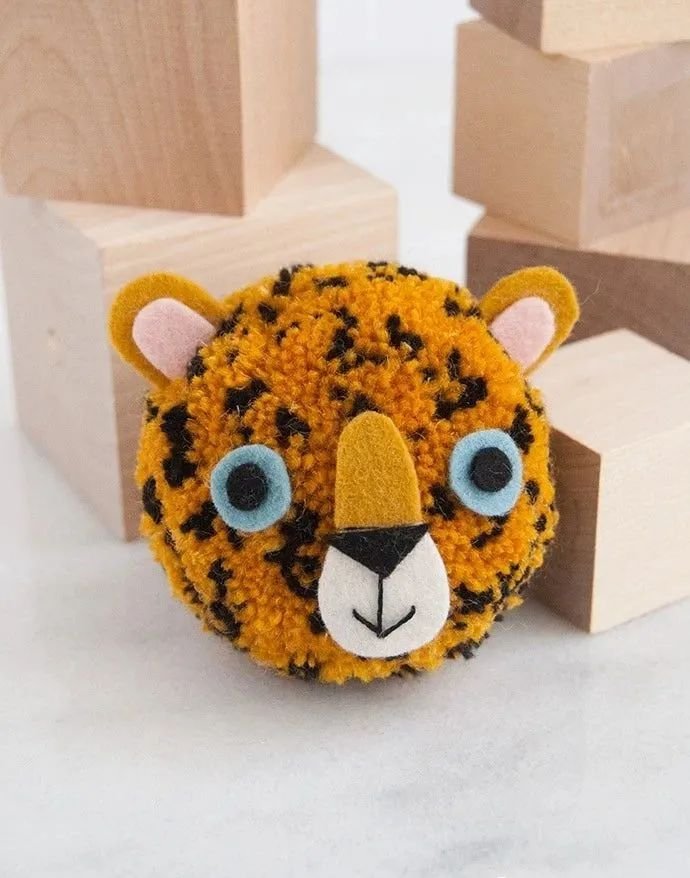
Leopard
Many boys will especially like animals like tigers and leopards.
They feel that these animals always give off a sense of wild beauty.
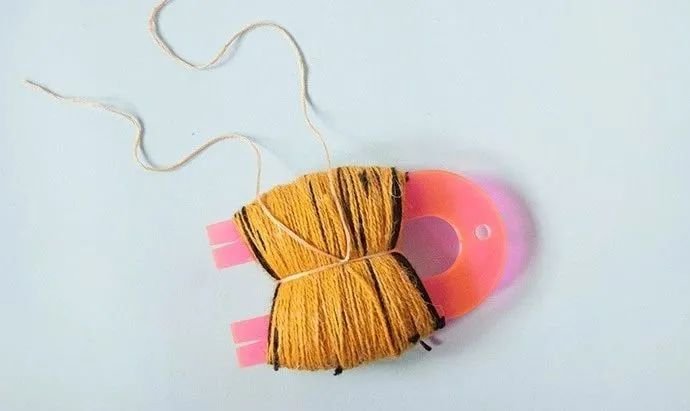
You can buy a small tool online as shown in the picture,
or you can cut a delivery cardboard box into a U-shape.
Wrap yellow yarn around it in circles. 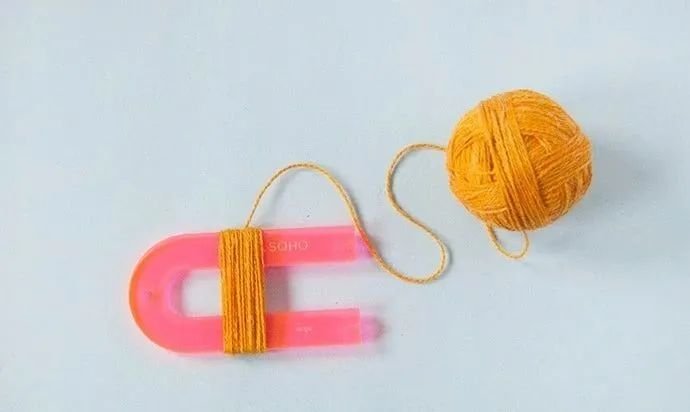
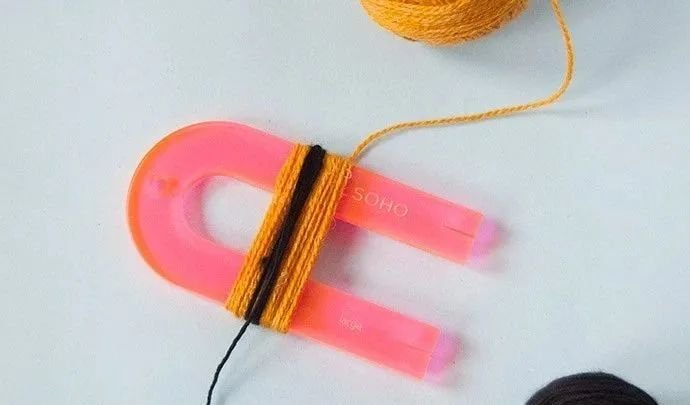
If you’re attentive, you’ll notice that leopards mostly have black spots.
Then wrap some black yarn on it too.
Intertwine the two colors of yarn.
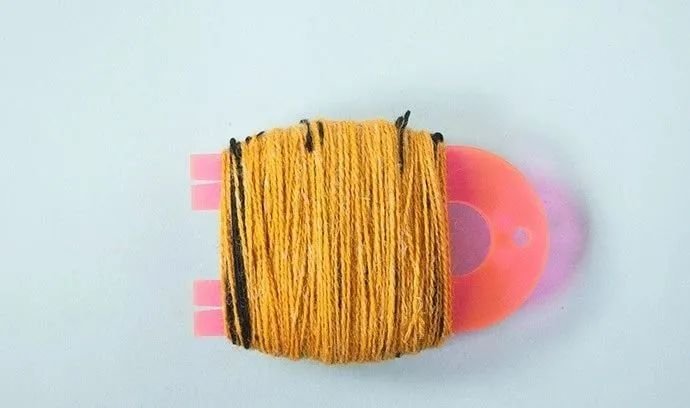
Finally, tie a tight knot in the middle with a string.
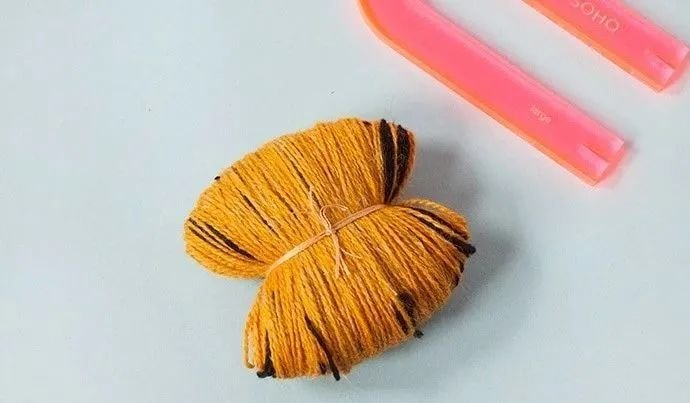
After removing the yarn, cut the left and right sides.
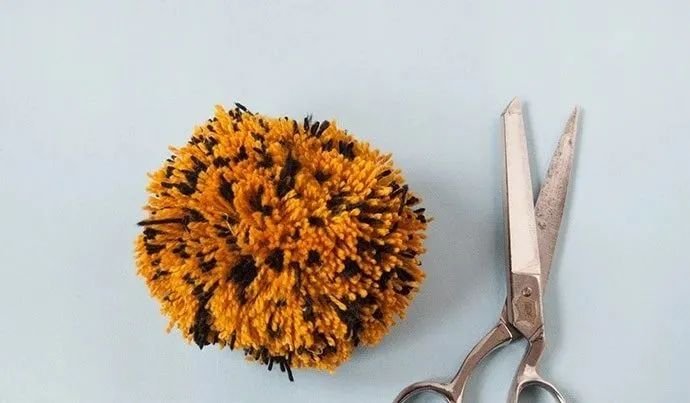
Then trim the excess yarn with scissors to make it look more rounded and neat.
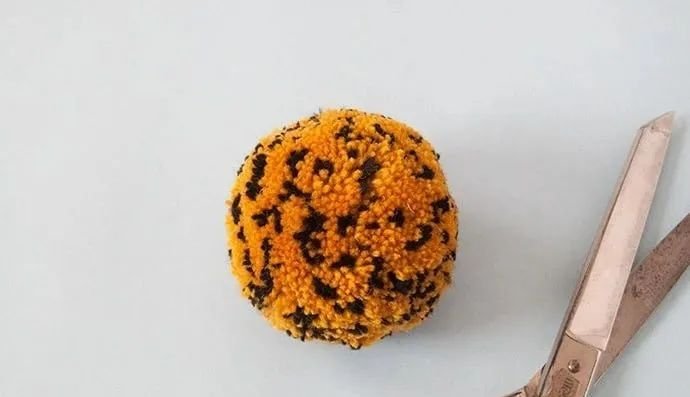
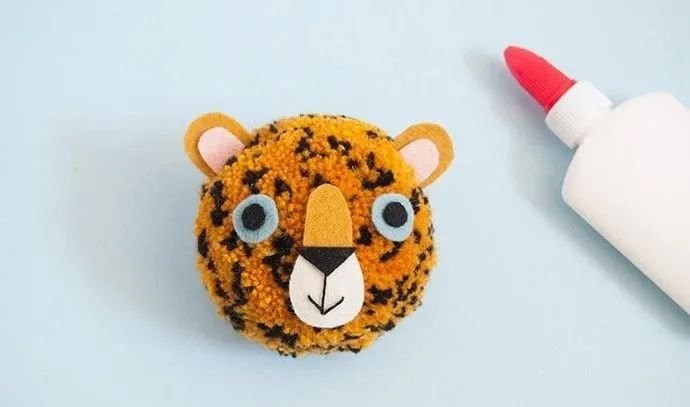
Finally, cut out the leopard’s facial features from felt and paste them on.
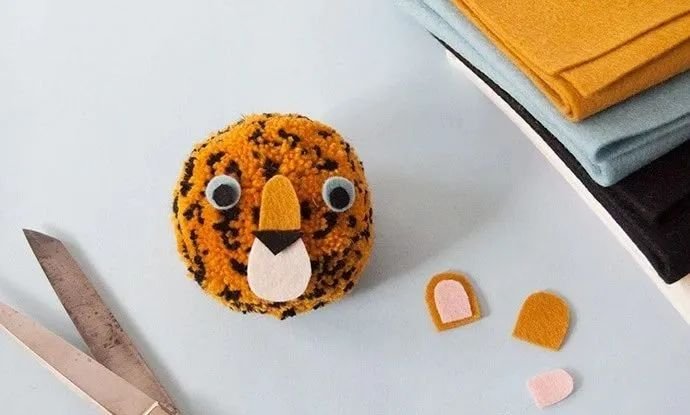
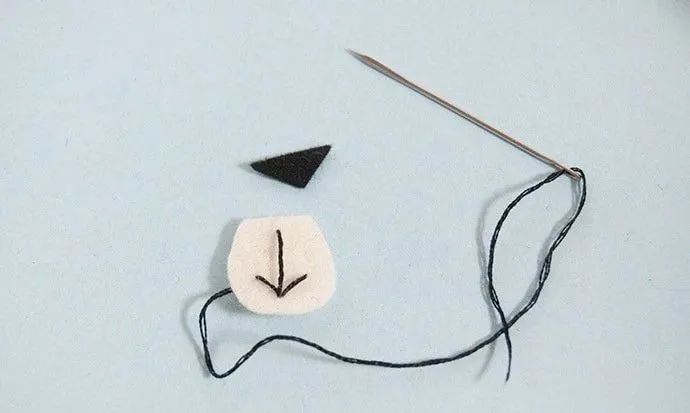
If you want to make it into a keychain or a backpack charm,
you can thread a string through the little leopard’s ears or other parts.
This DIY is very simple, but it has a high aesthetic value.
It’s very versatile and can also be given as a gift to friends.
Penguin
Penguins are also very cute and interesting.
Use the same method,
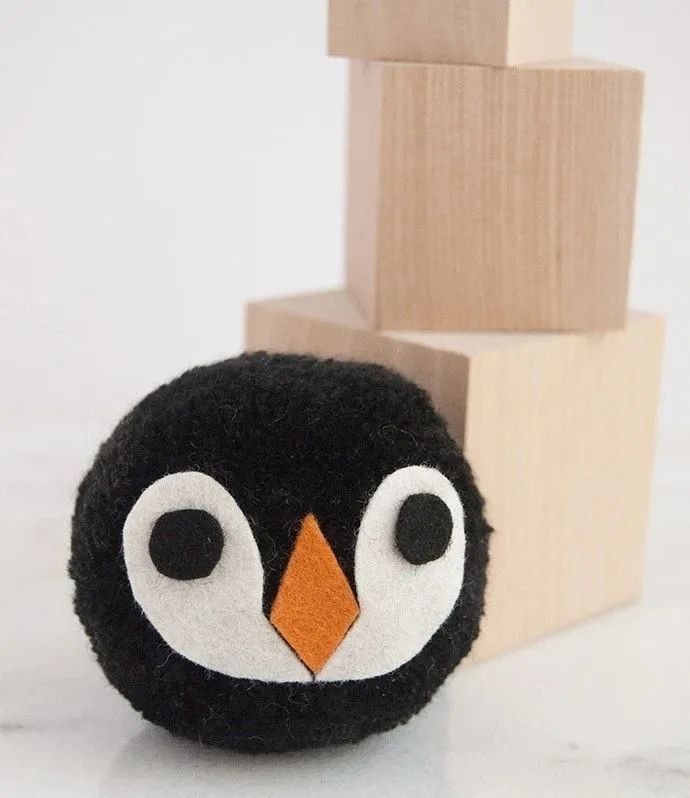
just switch to black yarn.
Then, stick on the eyes, nose, and mouth according to the picture.
A cute penguin yarn baby is ready~
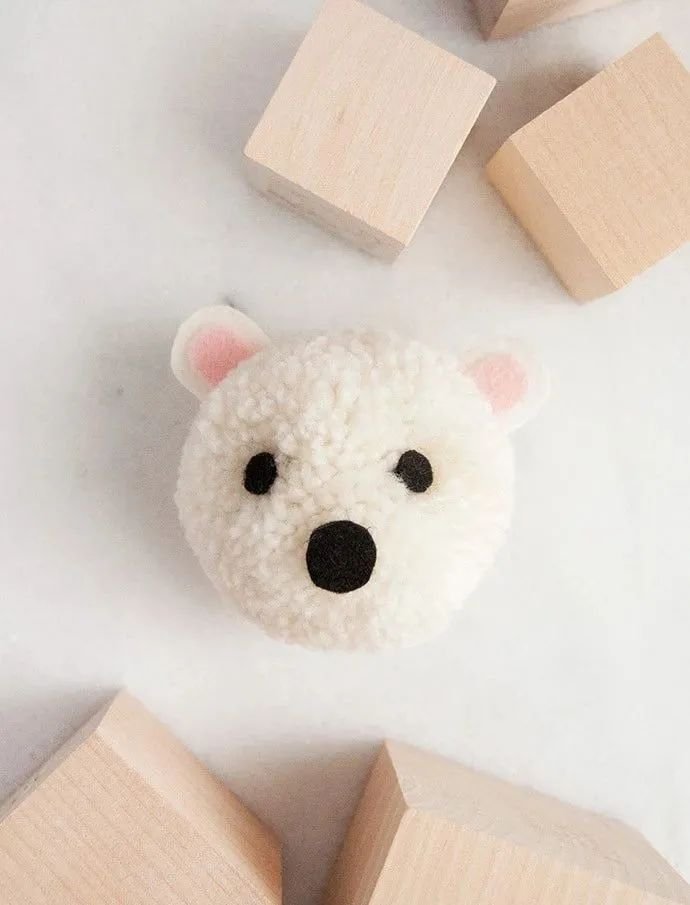
Polar Bear
Similarly,
we can repeat the previous method.
Switch the yarn to white to make a polar bear.
Turtle
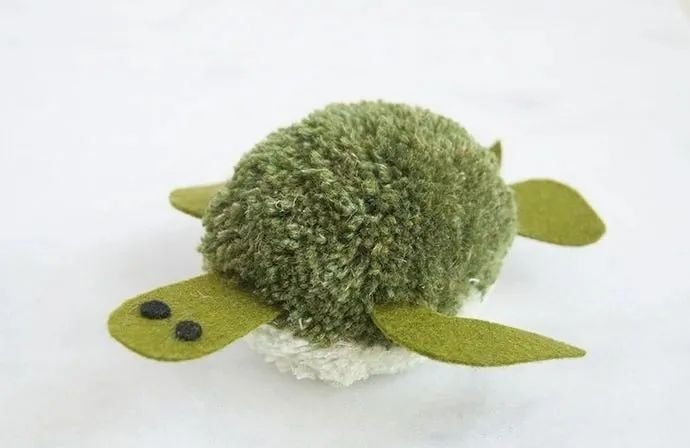
Turtles are often seen as symbols of wisdom and perseverance in American culture. When giving gifts to younger generations, why not try making a handcrafted turtle for them? It’s a thoughtful and meaningful gesture that can add a personal touch to the gift and make it more memorable.
Unlike using just one color of yarn as before,
when making a turtle,
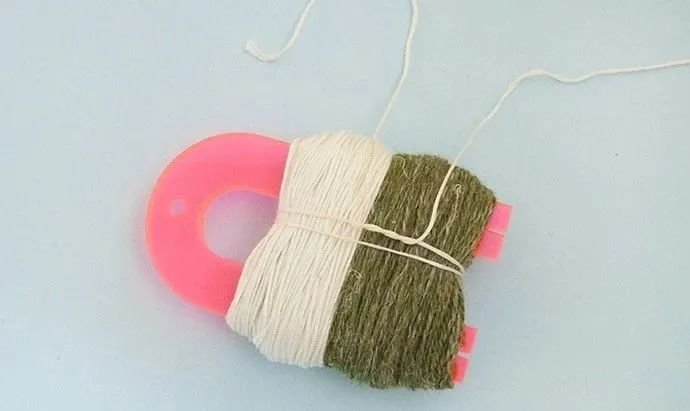
we need to use two colors of yarn: green and white.
As shown in the picture,
wrap white and green yarn on the U-shaped tool.
After wrapping to a certain extent,
tie a knot in the middle with a piece of yarn.
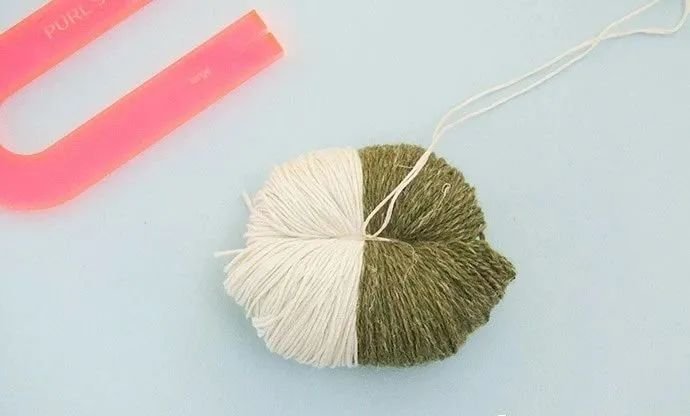
The following steps are the same as before.
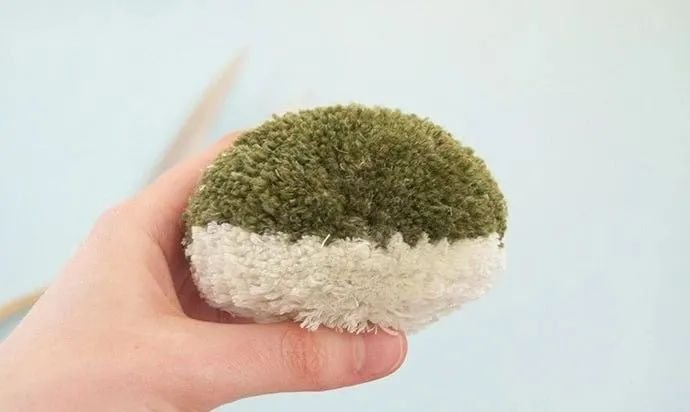
Cut out the yarn ball and trim it into a round ball.
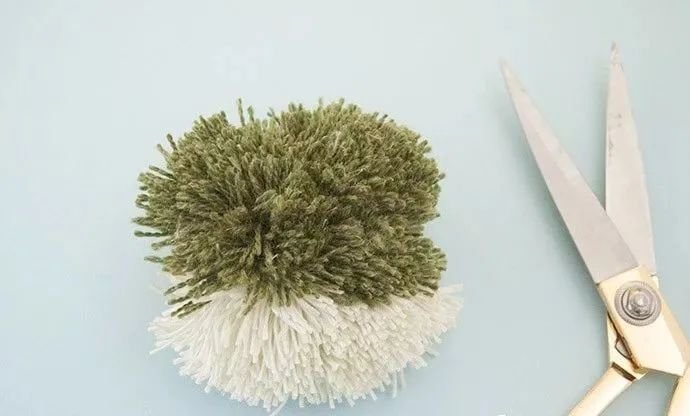
You can use a round disc to slightly flatten the yarn ball.
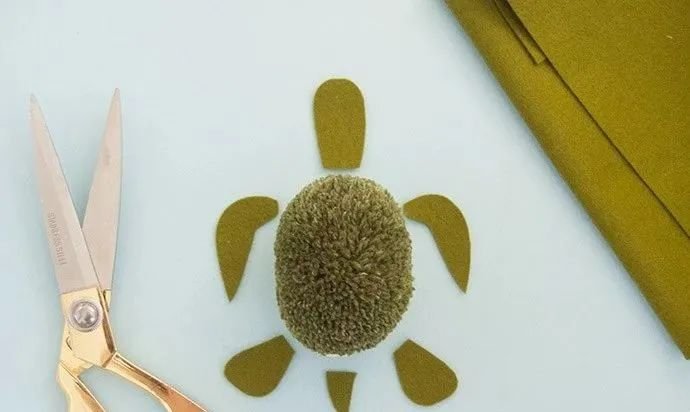
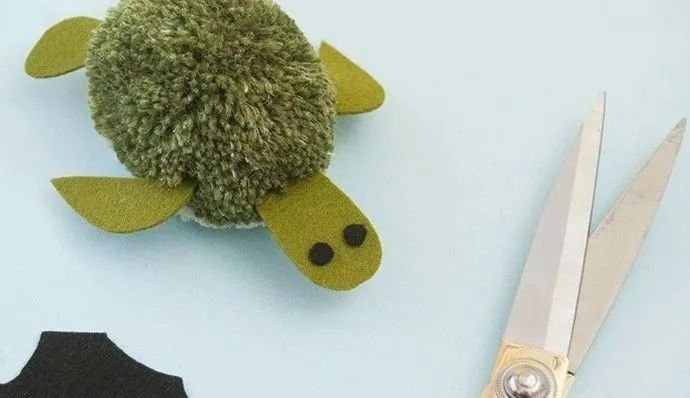
Then, cut out the turtle’s limbs, head, tail, and eyes from green felt.
Finally, assemble them together!
I believe that after learning the above methods,
you will no longer need to buy plush toys in stores.
With just a few simple operations, you can make plush toys at home.
You can also create according to your own preferences.
You can also use them as gifts.
Isn’t that great!






Leave A Comment